Heads up: This post contains affiliate links. Learn more.
Kids with big imaginations, silly personalities, and love to tell stories will love, love, love this cardboard puppet theatre craft! I’ve tried this with kids aged 4-9.
The super fun DIY activity might span over two sessions, one for the puppet making and one for the background/theatre part.
This could be a really great project to follow during World Book Week or to complement a story your class has been reading or learning about. Give it a try!
I found that even though the younger children enjoyed this and wanted to do this project, they struggled a lot with it, and I definitely needed a couple class helpers or less kids.
The older children enjoyed it just as much, but I still assisted them with the hot gluing by creating a sort of queuing system that allowed some kids to keep working while others got to gluing, and the finished kids helped the unfinished ones. It worked out fairly smoothly. Of course the hot gluing aspect should always have adult supervision but older children will find it easier to cope with the cutting and placement of things.
What You’ll Need:
For The Puppets
For The Theatre
- A2 Card stock paper or Cardboard
- Crayons or Markers
- Black Sharpie
- Glue Stick
What To Do:
How to create the puppets:
1. Create the paper cone base
The cone will act as the characters body. Well actually, its more like the base for the clothes.
So to keep it simple I told the kids that if they wanted to make a character with a dress they keep the cone closed, and if they want a character with a cape they can cut it with an opening down the middle. A lot of them chose princesses or superheros.
So for all the characters, cut the tip off the cone, but not too much. Just enough for the popsicle stick to be able to fit through it. If you’re making a caped character, also make a vertical slice down the centre of the cone.
2. Attach the popsicle stick body
Get a popsicle stick and begin drawing your character. Divide it up into 3 parts – the head, body and legs. Using markers, you could colour this is however you like.
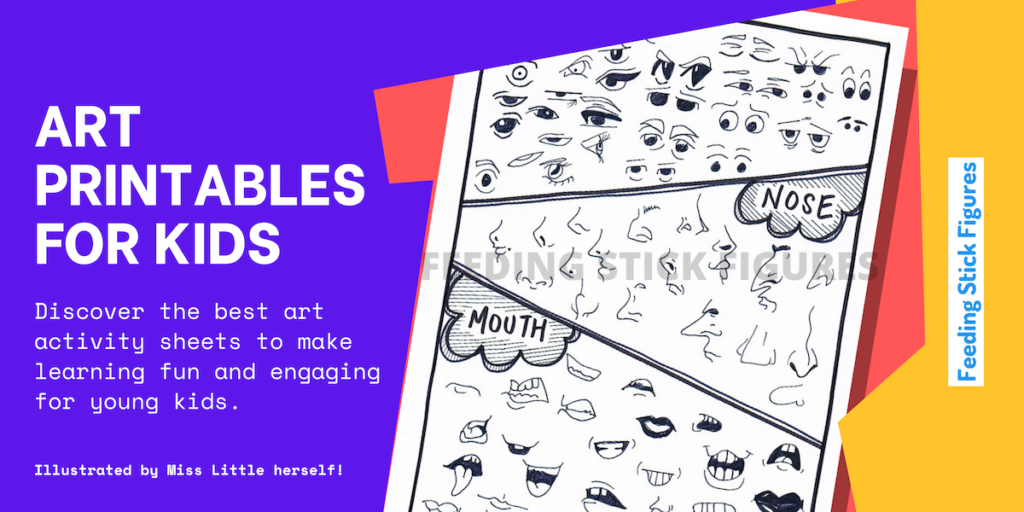
I drew a variety of very simple emotive faces on the board for the kids to refer to when choosing the mood or expression of the character. Think emoji style expressions.
Put the popsicle stick body through the whole in the tip of the cone, so the characters face shows through. The characters with dresses won’t need to pay attention to making body details on the stick. But the characters with capes, might consider making an outfit.
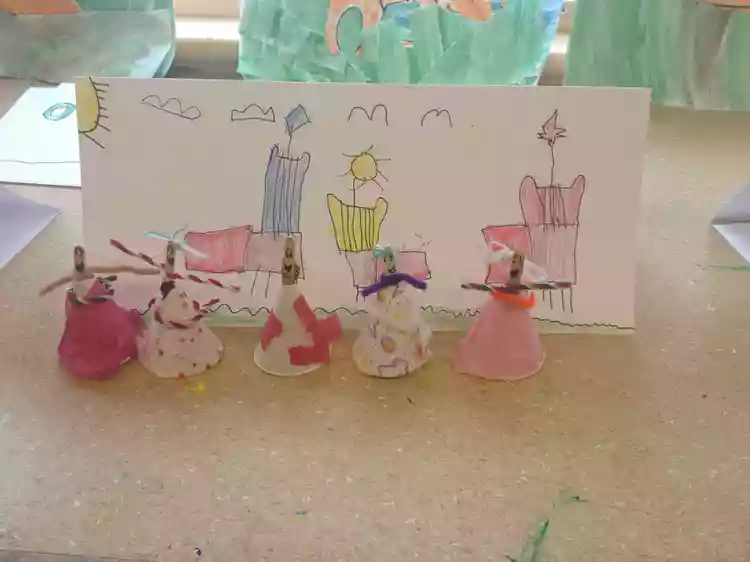
3. Dress The Character
Here’s the really fun part. Cut some fabric and wrap it around the cone, this acts as either the dress or the cape of your character. Both the body and the dress.
The kids get really super creative with this part, I was impressed with all their designs. I had some kids want special ruffles or multi layers and other things! Glue it all in place with some hot glue.
4. Attach the pipe cleaner arms
Add some arms by simply wrapping a pipe cleaner around where the “neck” might be on your character. Just under the face, where the cone and the stick meet.
Tip! I got the kids to form a queue with both their bodies, arms and the clothes, so that I could help hot glue everything all in one go, after I was done, I send them on their way to start designing more characters or get into making their Theatre stages.
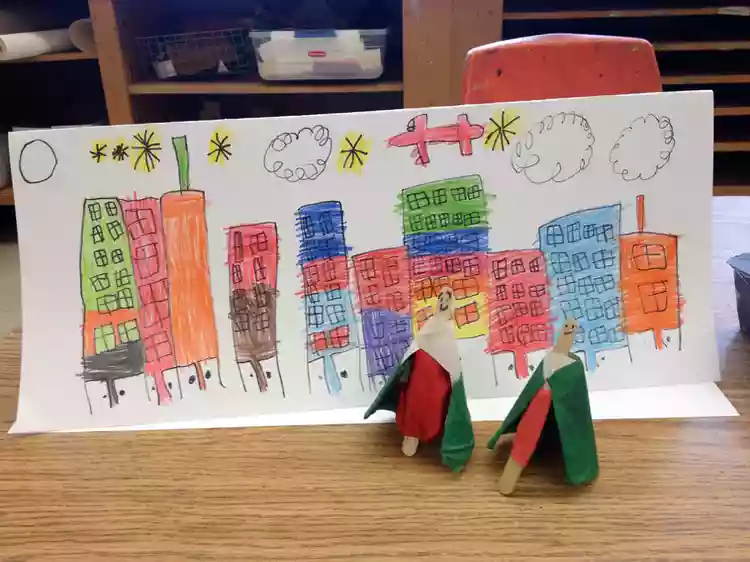
How to create the cardboard puppet theatre:
1. Fold a triangle prism from cardboard or card stock paper
Fold large A2 card stock paper in thirds (twice horizontally) to make a prism – kinda like a huge brochure.
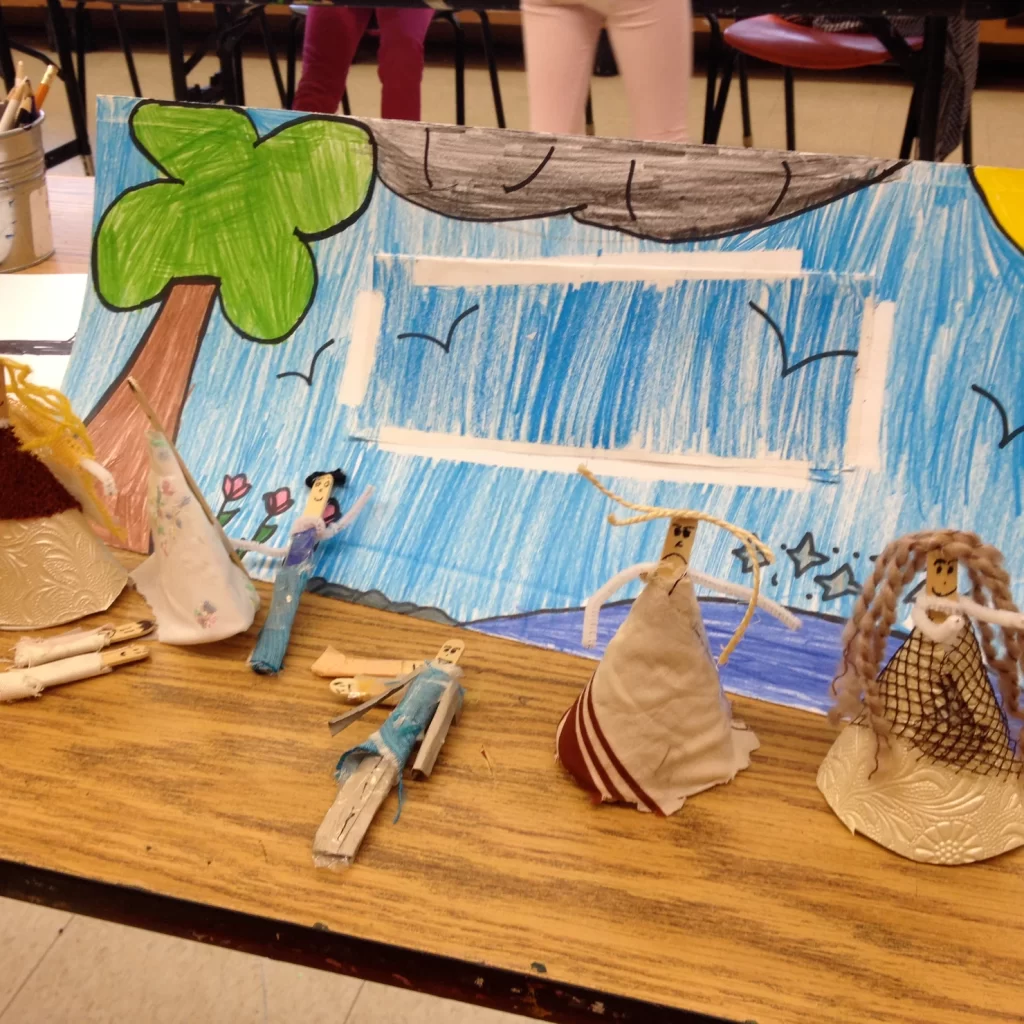
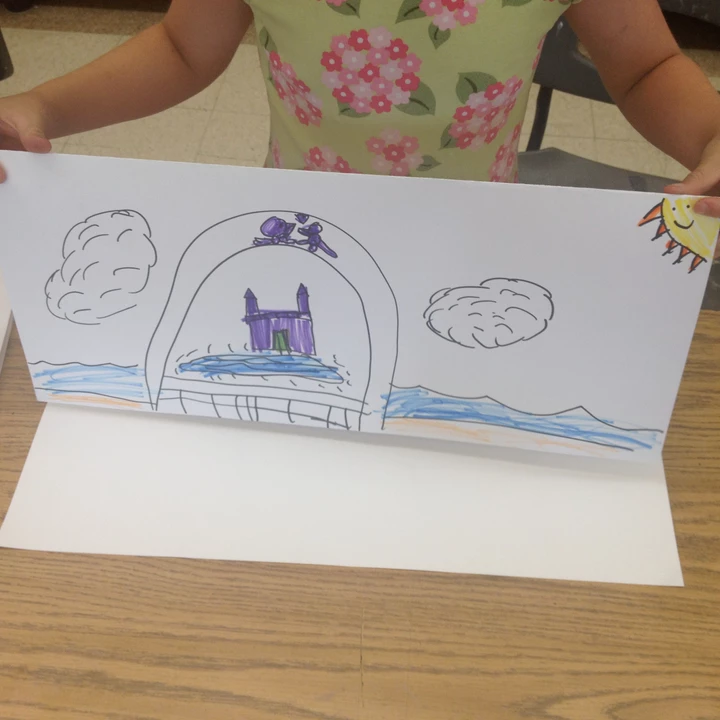
2. Draw & colour your scenes
Each side can stand on its own, and act as a different scene in the play. i.e. inside or outside, day or night etc. Draw each scene and colour it all in completely. You may want to use a glue stick to keep it in place.
Tip! If your kids are going to be taking toting this around with them, I suggest not gluing the prism, that way it will lay flat when they want to carry it around. Use a paper clip to secure it instead.
And that’s it! Let the show begin.