Heads up: This post contains affiliate links. Learn more.
What better way to pass the time than with a good puzzle? My kids love to do short and simple but super fun art activities on paper. This DIY paper puzzle is one of our favourite quick art class project ideas because this project can be done in just about an hour, but the kids can play with them time and time again.
When it’s all finished, the kids love to share their puzzles and get busy playing and assembling each others. I’ve even had students go and make more at home to assemble with their families. How do they take the puzzles home you ask? Well this lesson even includes how to make the box!
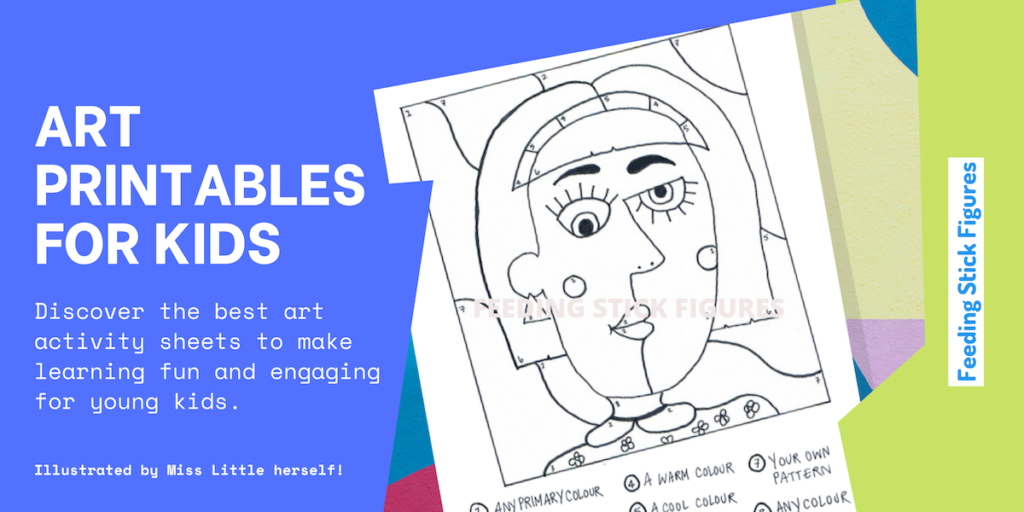
I’ve done this project with kids as young as 5 and it never gets old, it’s fun to make at any age. They usually have such big imaginations when it comes to deciding what to draw, but some kids struggle more than others. So to start things off I usually begin with a little warm up drawing or colouring activity like this picasso colour-by-numbers printable or this simple step-by-step how to draw a landscape. I have loads more printable art activities that I use at the beginning or end of an art lesson for those ‘quick wins’ to help build drawing confidence in kids.
Here’s how to make this fun and very easy large scale DIY Paper Puzzle craft for kids to easily do from home or at school.
How To Make A Larger Than Life DIY Paper Puzzle!
What You’ll Need:
- A3 White Card stock
- Colouring Materials like pencils or crayons
- Black Markers
- Scissors
- Pencils
- Ruler
- Tape or glue
What To Do:
1. Draw A Picture & Colour it in
I gave them all A3 white card stock. If you wanna go even bigger, why not try A2! We focussed on landscape images for this one as it was a follow up activity from learning about landscapes. Crayons work best to colour it in as it doesn’t seep through and its easier to cover large areas fairly quickly. Remember to colour the entire page!

2. Make ‘puzzle’ sections on the back.
Your puzzle does not have to have ‘real puzzle shapes’ most kids find drawing and cutting those shapes difficult anyway, so we just make squiggly, swirvy lines vertically and horizontally – about 3 or 4 across and 5 or 6 down. We used a sharpie or black felt marker for this. Write your name or initials on every section, so when you cut it out you don’t get your pieces mixed up with the people around you.

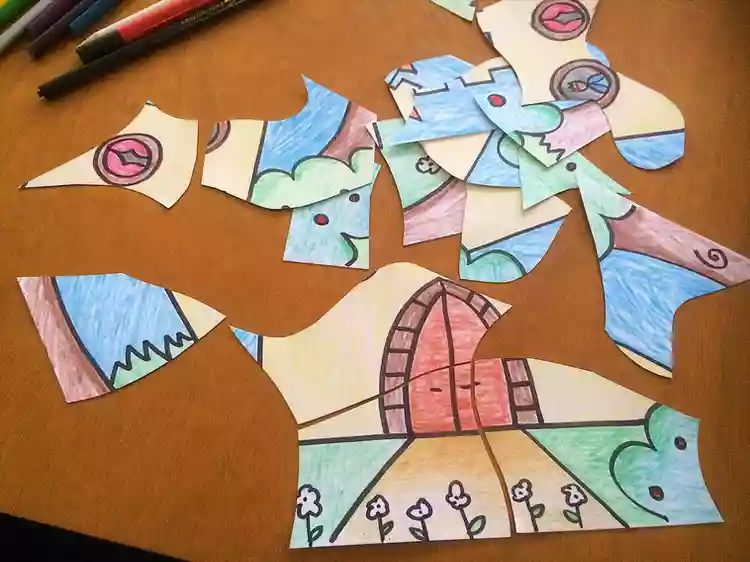
3. Cut it out
Once you’ve drawn, coloured, sectioned off (and initialled) your picture, it’s time to get cutting! Carefully cut along the lines you’ve drawn in black marker. Take your time here, it’s good to be precise.
4. Make your Box (or envelope)
We used an easy fold-up box template for this, download it here. Draw the template on A3 or A2 card stock, using a ruler and a pencil. To save time, if you have access to a printer that uses A3 paper, you can print the box template out directly onto the paper.
Draw the same picture on the puzzle box lid, so you can refer to it when assembling the puzzle, just like you would on a real one.
Cut out your box template and fold it all together. Use tape or glue to secure the edges if needed.
Making an Envelope
If a box is too complicated, you can always make a simple envelope by folding the card stock in half, leaving about a 2inch over hang on one side, which can fold over to become the flap of the envelope. Secure the sides with tape or staples.
Some kids got creative and put a title and age grouping and some catchy “Fun for the whole Family” type slogans. Gotta love kids!

5. Try it out!
Now the puzzle is complete, have fun putting together!
