Christmas is coming and you’re looking for ways to make some Christmas card crafts the kids can make for their family and friends. My Primary school children love making these cute paper cards, especially the youngest ones.
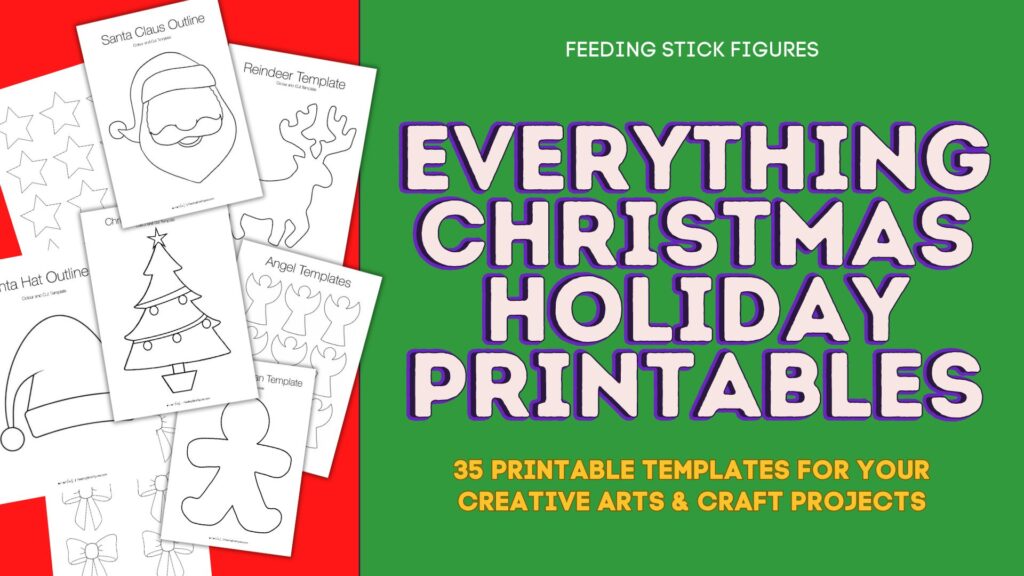
My past self had managed to make teaching these sessions a lot easier since I had already created a massive folder of all the templates and outlines that I could need for anything related to Christmas art projects. Saving myself hours of Googling & Photoshopping.
If you find you need to save yourself some time finding templates for your Christmas crafts, go and get a copy of the Everything Christmas Printable Template Bundle, thank me later.
Heads up: This post contains affiliate links, which means I may receive a small commission (at no extra cost to you) if you purchase something through one of these links. That helps keep the lights on, so thank you!
How To Make Simple Paper Christmas Cards For Kids
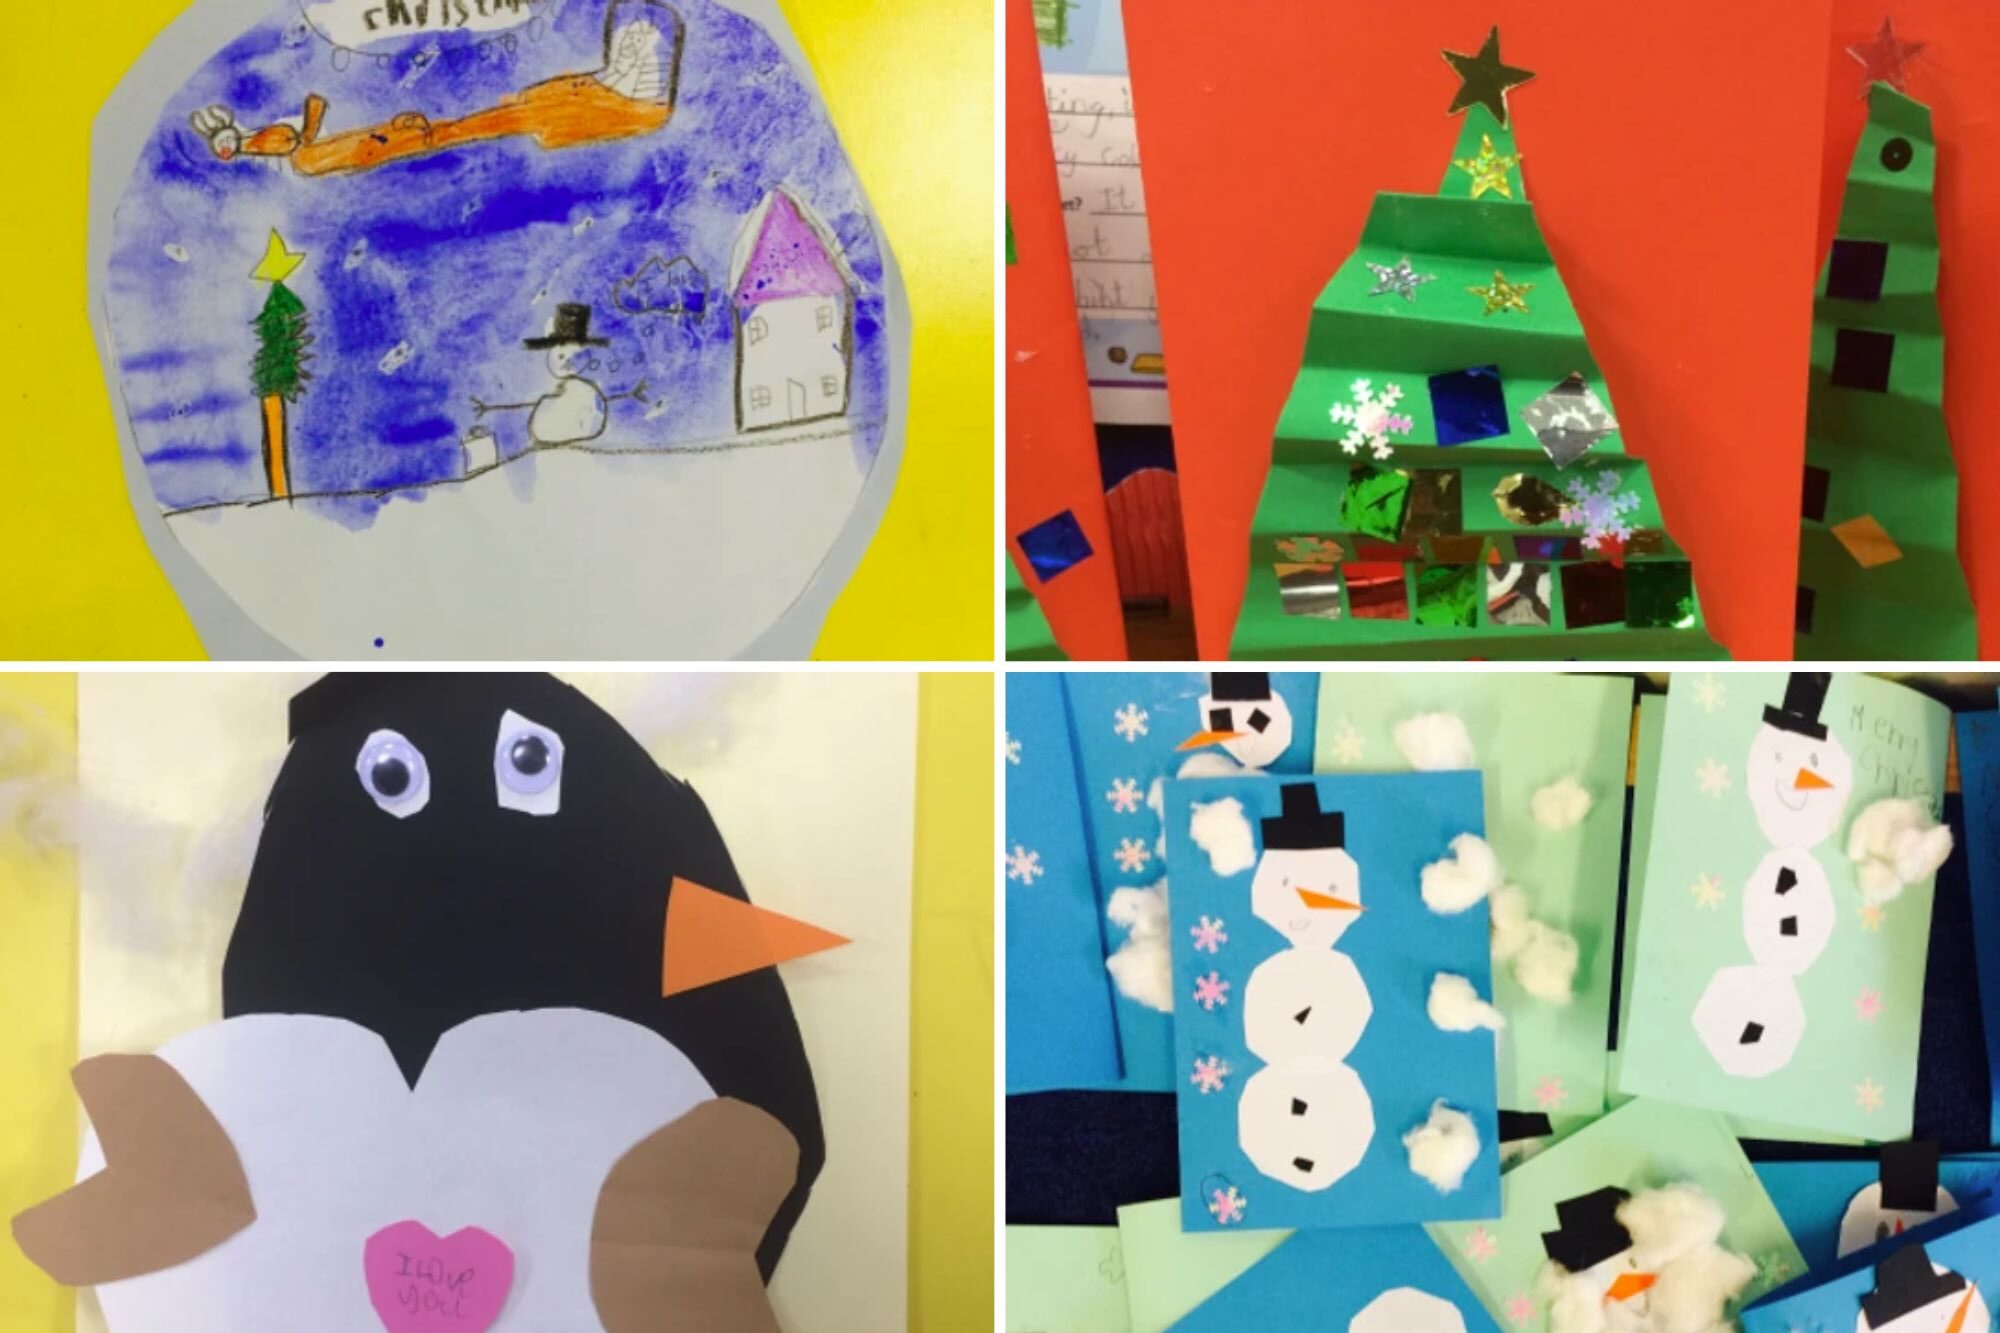
Here’s a look at 4 super simple and very cute Christmas card craft ideas that kids can make at home or at school, in perfect time for the holidays. These cards don’t take long to make and the results are so adorable.
Folded Paper Christmas Tree Cards

Art Supplies:
How To Make It:
- Cut a bunch of triangles from the sheets of green craft paper.
- Accordion fold the triangle horizontally.
- Fold whatever Christmassy colour card (like red or white) stock you want, in half.
- Glue the top tip and the bottom base of the tree to the front of the card.
- Decorate your tree in glitter, sequence and anything sparkly!
- Write a lovely message inside.
Things to consider:
- Allow a bit of variety by giving the option of a few different colours of card stock.
- Some kids could not grasp the accordion fold concept. I demonstrated this showing how to fold away from you, flip the paper over, fold away from you, flip. Fold, flip, fold, flip and so on.
- Make sure your kids are gluing their tree to the right side of the card. I got a handful of backwards cards!
- I hate using sequins and glitter in the classroom. My students already know this. The stuff gets everywhere! But I couldn’t deprive them of it’s magical effect this Christmas while crafting. So I gave them all the sequins. BUT, the rule was each table had to use up every single sequin before they could receive anymore to use.
Fluffy Snowman Christmas Cards Craft

Art Supplies:
- A4 Colour Card Stock
- Circles Template
- Orange Paper
- Black Paper
- Cotton Wool
- Snowflake sequins
- Glue Sticks
- Scissors
- A Pen
How to Make it:
- Cut 3 white circles from the template.
- Fold card stock in half.
- Glue the 3 circles stacked in a line onto the front of the card.
- Add cotton wool to embellish your snowman.
- Cut a hat and 3 round buttons from the black paper.
- Cut a tiny triangle for the nose from the orange paper.
- Arrange your snowman pieces on the front of your card and glue them down.
- Write a lovely message inside.
Things to consider:
- Explain how to put glue on the paper before you stick the cotton down. I caught a lot of kids putting the cotton to the glue stick!
- Again, make sure your kids are gluing their snowmen to the front side of the card.
Watercolour Painting Wax Resist Snow Globe Cards

Art Supplies:
- A4 light blue card stock
- Black Card stock
- White paper
- Circle Template
- Cotton Wool (optional)
- Glue Sticks
- Scissors
- Wax crayons
- Blue paint
How to Make It:
- Use a small plate to draw or circle template to draw a circle onto white paper.
- Using wax crayon, draw a snowy Christmas scene inside the circle. Remember! Anything you want to keep white needs to be coloured in white crayon.
- Dilute the blue paint with water, and gently brush over the drawing. The wax resists the blue watery paint revealing the drawing beneath. Leave to dry.
- Once dry, cut around the circle, and glue on some cotton to create snow (if you want)
- Glue the painting onto blue card stock, cut a circle leave a 1cm to 1inch boarder around.
- Cut a black triangle from card stock, and cut off the tip.
- Glue the black triangle to the bottom backside of the blue card stock, which looks like the base of the snow globe
- Write a lovely message on the back.
Things to consider:
- Explain how to put glue on the paper before you stick the cotton down. I caught a lot of kids putting the cotton to the glue stick!
- Dilute the blue paint well, water is much better than too thick!
Loveable Winter Penguin Card Craft

Art Supplies:
- Black Card stock
- Cream or Any Colour Card Stock
- White paper
- Orange Paper
- Pink Paper
- Brown Paper
- Oval Template
- Cotton Wool (optional)
- Glue Sticks
- Scissors
- Googley Eyes
- A Pen
How To Make It:
- This Cute Penguin is almost made entirely of heart shapes. Teach how to do this and everything else is just sticking it all together.
- Cut the heart shapes: Fold a piece of white paper in half. Place the folded edge on the inside of the scissors and cut straight towards the top corner of the paper and gently curve inwards to finish back at the folded edge. When the you open the paper you’ll have a heart shaped paper with a fold directly down the center.
- Repeat this heart cutting method create 2 small orange hearts, 1 small pink heart, 2 small brown hearts. With the left over orange paper snip a small triangle.
- Fold A4 cream card stock (or any colour really) in half like a card.
- Cut an A5 oval from black card stock
- Put the Penguin together: Using the black oval as the penguins body, glue the white heart on as the penguin’s tummy, glue the orange hearts on as the feet, glue the brown hearts on as the fins, and pop the triangle on as the beak.
- Glue some cotton on the front of the folder colour card as the snowy background before gluing the finished penguin onto the cotton.
- Pop on some Googley eyes and write a lovely message inside the card.
Things to consider:
- Explain how to put glue on the paper before you stick the cotton down. I caught a lot of kids putting the cotton to the glue stick!
- Some guidance will probably be needed white cutting the hearts, so take the time to show them how.
- If you don’t have Googley eyes, cut out 2 mini circles and draw black dots for they eyes.