Heads up! This post may contain affiliate links. Read more.
Last year, during my first week as an art teacher at a new primary school teaching multiple grade levels, I came up with a few quick and fun first day of school art ideas that could easily help me understand my new students abilities and skill levels right off the bat on the first day.
These lessons included many aspects of the art projects that were to come throughout the school year. Things like cutting, gluing, drawing, creative exploration and more.
Doing these quick art projects in the first days of art class, I could get a feel for what my students have difficulties with and what might’ve been too easy. It was especially helpful since I didn’t just have one class. I had 12 classes! In multiple grade levels.
I taught 2 classes of 30 kids in each year group from Year 1 to Year 6. Awholelottakids!
Between going over rules and class introductions, demos, discussions and art room clean up, I was left with about 30 minutes to get them creating something engaging.
To prepare for back to school art lessons in September, most of us art teachers start finalising project ideas in August.
The process is much simpler to think about if you’re returning to your school, but if you’re a new teacher or it’s your first year teaching, there is a big list of things to do and art planning can be daunting.
These students were new to me and I had no idea what their abilities were, no idea what art supplies I would have on hand (or the condition of them) and I was unsure of the school routines and procedures. So, I needed to keep it simple for the first days, and use only simple drawing materials.
I refrain from taking out the ‘messy’ art supplies on the first few projects until students have proven their ability to follow instructions and respect the art supplies. I typically do drawing and paper projects for the first half of the year before moving into painting and sculpture projects during the second half.
Back to School Art Ideas for Primary School: Positive & Negative Space Drawing Lessons
I knew I would be introducing the work of Henri Matisse during the second week, and his work has a lot of positive and negative space concepts and compositions.
So my first week of art lessons were about Positive/Negative drawings for each Year group. I altered the difficulty level, and objectives for each, while introducing them all to the same basic Elements of Art & Design and vocabulary: Shape, Line, Form, Space, Repetition and Harmony.
Here’s what I was observing on the first day of art class:
- Seeing skills – ability to replicate images and shapes
- Drawing/Colouring Skills – craftsmanship, neatness
- Creativity – imagination, originality
- Cutting Skills – fine motor skills, neatness
- Following and remembering simple directions
- Listening
- Classroom behaviour
Once I determined these things, I could tweak or ditch some lessons in my plans.
Side Note! I’ve said it before that I typically don’t make examples of art projects for my students, because I find that a lot of children try to copy my example rather than be inspired by the idea. However, because it was my very first time meeting these kids, I did present a few examples for these projects.
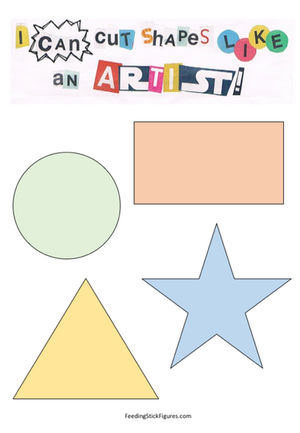
Cut, colour and paste simple shapes into a sketchbook
I did this lesson with Year 1 who are aged 5-6.
First we discussed what a collage is, and we talked about different kinds of shapes.
The little students were to colour and cut out all the shapes in this shapes handout. They were then asked to glue the shapes into the first page of their sketchbooks.
After the shapes were all stuck down, they were to draw the exact same shapes on the second page before colouring those in too. We also discussed the difference between colouring and scribbling.
Aside from cutting and colouring, the idea here was to see how well they followed these simple instructions as well as how they compare object size when draw things they see.
I purposely did not show them an example of the finished activity.
Once they finished this, they grabbed this cutting sheet, where they were asked to cut along the lines and give the finished sheets to me.
Trace and colour opposite hands
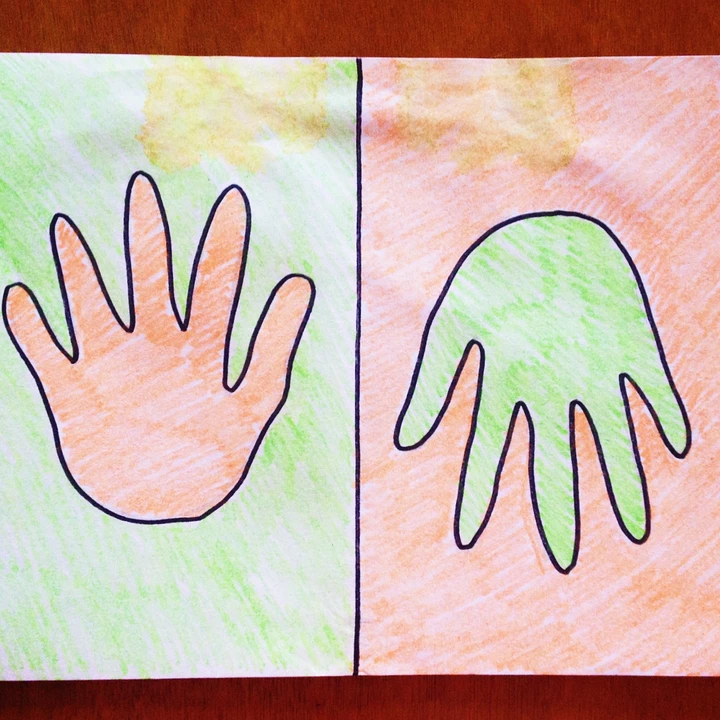
I did this drawing project with Year 2 who are aged 6-7.
In this lesson, I got the young students to fold a piece of paper in half and trace their own hand on one side and then again on the other side but upside down, before colouring the hands in with their choice of two crayons. We discussed the difference between colouring and scribbling, and let them get on with it.
Simple drawings with a focus on colour
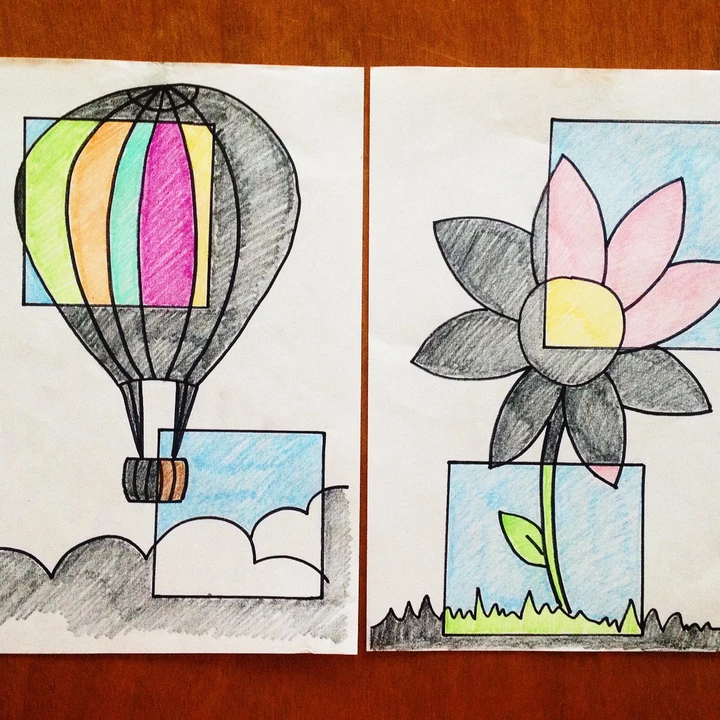
I did this lesson with Year 3 who are aged 7-8.
I’m a big advocate for using your creative imagination and drawing what you want. However, this particular lesson was an observation analysis on students’ skills in seeing and replicating.
The idea here was to copy what I drew and how I drew it.
I gave students a bit of wiggle room like where they can place the squares, colour choices and adding extras like a sun or another flower. I gave them the option to try drawing either the flower or the hot air balloon.
They were to copy my drawing, and were to use a piece of square card I gave them to trace a square onto the picture. I instructed them that anything inside the rectangle was to be coloured with colour pencils, anything outside the rectangle was to be black, except the sky which was to remain white.
Create a tree silhouette with colour and patterns
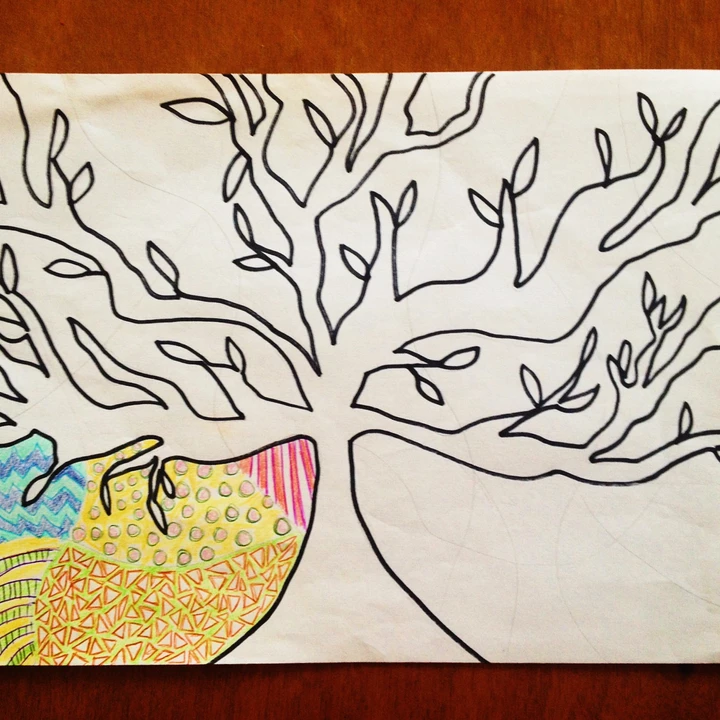
I did this lesson with Year 4 who are aged 8-9
I added the term silhouette to their vocabulary, and talked about what defines negative and positive shapes.
Students were to draw an autumn tree and let the branches run off the page.
We also talked about what a pattern is. They then had to fill in any negative space with a pattern. I found my class actually found this quite challenging and some students felt discouraged about their abilities to draw this type of tree.
This helped me understand that a lesson in sketching simple trees may be useful this year, and do a before and after comparison at the end of the year.
Create an animal silhouette with colour and patterns
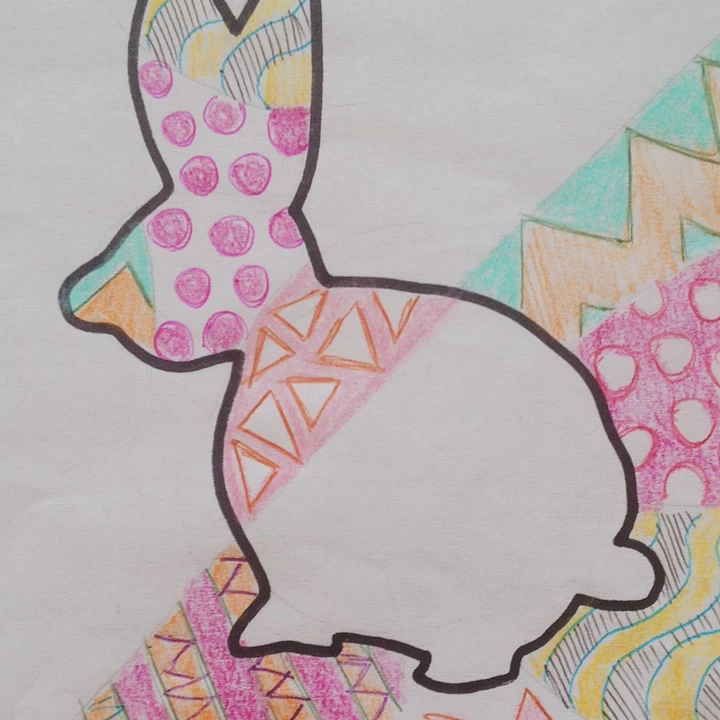
I did this lesson with Year 5 who are aged 9-10
Similar to the tree lesson, these year 5 students were to draw an animal silhouette and fill the negative space with different patterns.
We first discussed shape and outlines, and I asked them to tell me how they could figure out what animal it was without any details shown.
I reminded them to use those answers when drawing their animal shapes. We went on to discuss positive and negative space.
As they drew, we talked about what a pattern is and I demonstrated different types of lines they could incorporate to help them along with their pattern making. They seemed to enjoy coming up with patterns and colouring while socialising.
Some students had difficulties drawing animals from memory, and most could not remember to leave the animal details out. I found there were a lot of people drawing fur, eyes, and toes. It would be helpful to have a selection of animal outlines or silhouettes up on the board or screen for them to replicate.
Create shapes with positive and negative patterns
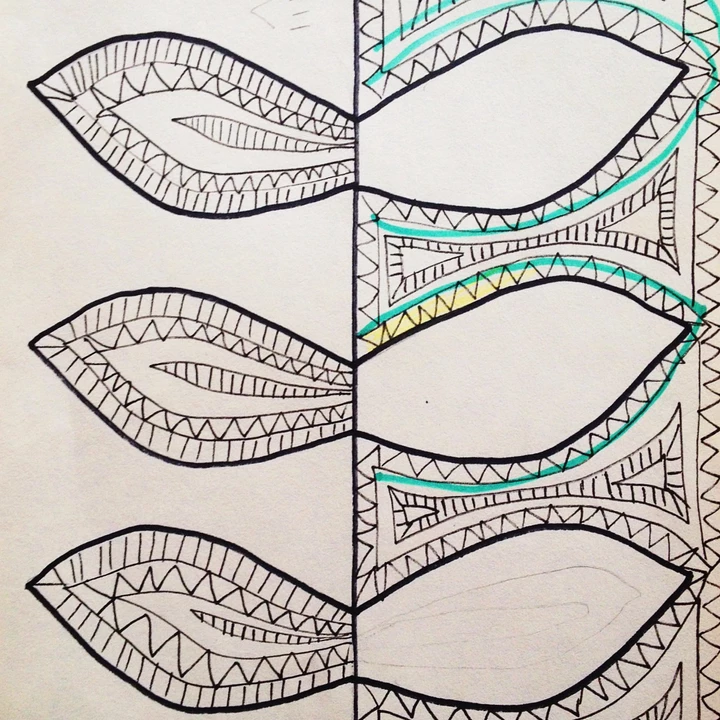
I did this lesson with Year 6 who are aged 10-11
The Year 6’s were to draw a simple shape of their own design (ex. leaf, diamond etc) right to the edge of a piece of small piece of card stock or cardboard and cut it out.
They then had to vertically fold a piece of paper in half and trace their simple shape several times down the fold and fill the negative space of one side with small pattern lines (aka zentangles) and fill the positive space of the opposite side in small pattern lines also.
We discussed the meaning of positive and negative space and what zentangle patterns were.
A few students had forgotten not to fill the negative and positives of the same side. But I helped them find ways to work with their mistakes.
Others had difficulties creating lines for the zentangles or made shapes wayyy too small to draw inside. And most students could not draw their original card shapes large enough to cut out.
The Take Away
These simple drawing activities get students engaged in art class from day one of the school year, allow me to quickly evaluate my students abilities, difficulties and strengths.